
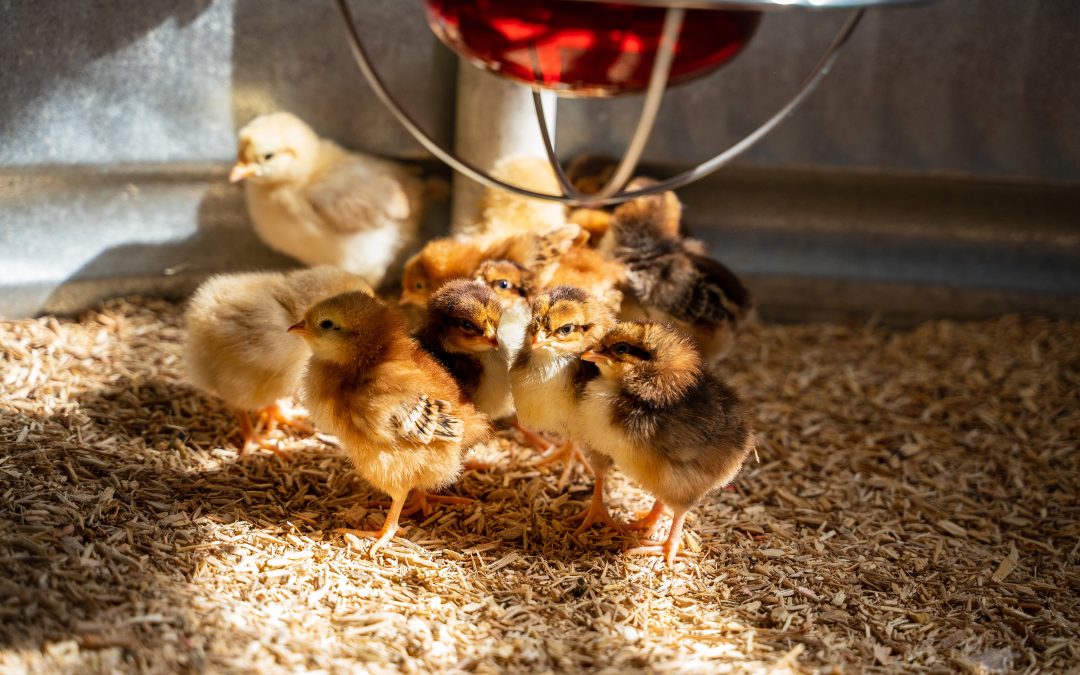
Your chicks will need close attention for the first few days after they arrive. Get these things right and the rest is easy. We have been hatching poultry in Zeeland since 1913, and this is the guidance we give our own customers every day.
Before your chicks arrive
Set your brooder up and have it running before you leave to pick your chicks up. They should go straight from the box into a warm, dry space.
What you need
- Heat lamp and bulb
- Feeder
- Waterer
- Pine shavings for bedding
- Starter feed matched to the type of bird you ordered
- Thermometer, strongly recommended
- Half a square foot of floor space per chick, which is about 7 to 8 feet across for 100 chicks
- Walls around 18 inches high, which will hold them for several weeks
Use two heat lamps, not one. If a single bulb burns out overnight, your chicks can freeze before morning. Two lamps means a burned out bulb is an inconvenience instead of a disaster.
Make the brooder big enough to have a cool zone. Your chicks need somewhere around 70 degrees to move to, away from the lamp. Birds regulate themselves better than any thermometer does, but only if you give them the room to do it.
Brooder temperature, week by week
Place your thermometer at chick level, directly under the heat source. Air temperature up at your eye level tells you nothing about what the birds are feeling on the floor.
| Week | Temperature |
|---|---|
| Week 1 | 95 degrees |
| Week 2 | 90 degrees |
| Week 3 | 85 degrees |
| Week 4 | 80 degrees |
| Week 5 | 75 degrees |
| Week 6 | 70 degrees |
By week 6 most birds are feathered out and may not need supplemental heat at all, depending on your weather.
Turkeys, guineas, bantams, and pheasants start at 100 degrees, then follow the same downward pattern.
Watch the birds, not just the thermometer
Your chicks will tell you when the temperature is wrong, and they will tell you before the thermometer does.
Too cold. Chicks huddle tightly, crowded directly under the heat source, and peep loudly.
Too warm. Chicks stay far away from the heat source, pressed toward the edges, panting or holding their wings away from their bodies.
Just right. Chicks form a loose donut around the heat source, spaced out comfortably, active, eating and sleeping.
Check on them often the first few days. A brooder that was perfect at noon can be wrong by midnight.
The first hour
Pick your chicks up from the post office as soon as they call you, and get them home.
Dip each chick’s beak in the water, one at a time. This teaches them where the water is and gets them drinking faster after the trip. Make sure fresh water is available continuously from then on.
Put feed out right away and keep it in front of them at all times.
Inspect every chick as you unpack. If any arrived deceased, call our office within 48 hours at (888) 685-0040.
If chicks seem weak or lethargic after a hard trip, stir a spoonful of sugar into one quart of water and dip their beaks in that. Switch back to plain water after 24 hours. Our vitamin and electrolyte packs can also be ordered and shipped with your chicks, and give them a stronger start.
Bedding
Use pine shavings. They are absorbent, they are not slippery, and they are too large for chicks to eat.
Never use sawdust or newspaper. Chicks mistake sawdust for feed, which causes malnutrition and can block their digestion. Newspaper goes soggy and slick with very little mess, and chicks that slip constantly can end up with permanently splayed legs.
Add fresh bedding as needed, and replace it entirely once it is soiled.
Feeding
Match the feed to the bird. Broiler chicks in particular need broiler starter, not chick starter, and putting them on the wrong ration will cost you growth.
Egg layers
| Age | Feed |
|---|---|
| Day 1 to week 5 | Chick starter, 20 percent protein. Starter grit can be used at 3 weeks |
| Weeks 6 to 17 | Chick grower, 18 percent protein. Grower grit can be used at 10 weeks |
| Week 18 and on | Layer feed, 16 percent protein, with layer grit and oyster shell |
Meat birds
Broiler starter at 23 to 24 percent protein for the first 4 to 5 weeks, then drop to 20 to 21 percent for the remaining weeks. After the first two weeks, put them on a 12 hours on and 12 hours off feeding schedule. That produces healthier broilers.
Turkeys, guineas, and pheasants
A 26 to 28 percent turkey or game bird starter.
Vitamins and electrolytes. One packet treats 128 gallons of water at a mixing ratio of one quarter teaspoon per gallon. Add it to their water as soon as you get them home.
Clean and disinfect feeders and waterers weekly to reduce disease risk.
Problems to watch for
Pasty hind ends. A blockage at the vent usually means the chicks are too warm, do not have enough space, or both. Remove the blockage gently with warm water and a wash cloth, then check your temperature and your floor space.
Pecking. Also a sign of crowding or too much heat. Check your thermometer and raise the heat lamp to bring the temperature down. A red bulb dims the brooder and helps reduce pecking as well.
Lethargy. Common after a long trip and usually short lived. Use the sugar water described above, and keep a close eye on any chick that does not perk up within the first day.
Keep yourself healthy too
Baby poultry can carry salmonella even when the birds look perfectly clean and healthy. Wash your hands thoroughly with soap after handling chicks or anything in the brooder, and supervise children while they do the same. Keep live birds out of the house.
Read our full salmonella safety guidance.
Questions
Call us at (888) 685-0040 or email [email protected]. We would rather talk it through with you early than hear about it after you have lost birds.
Enjoy your peeps. We hope you find raising poultry as fun and rewarding as we do.